Stash-busting cards with circle punches

Ten cards that use your scraps and a circle punch

Open bubbles: Cut a panel A2 size or smaller, punch holes using a variety of punches in a horizontal or vertical group and back with contrasting color paper. (Inspired by Simon Says Stamp die Luminary Circles)


Circles with a tiny heart: Punch a small heart in scrap cardstock, then use a 1” circle punch around the heart. This is much, much easier if you punch the heart first. (Inspired by LeAnne Pugliese)


Circles with squares: Cut two squares using paper trimmer. Punch one large circle, preferably 2”. Use a 1” circle punch to punch out a shape in each of these and arrange on card front. (Inspired by StampinPretty)

Circles in two colors: Punch six circles each in two different colors using a 1 1/4” circle punch . Layer six punches in one color on card 3” x 4 3/4”. Layer six punches in the second color on a scrap piece of paper. Trim the scrap paper so that one-half of the second color circles remain, panel will be 1 1/4” wide by 2 1/2” tall. (Inspired by Joan Bardee)


Circles with strips: Cut four strips of patterned paper 1” wide and 5” long. Use a 1” circle punch to cut punches from the same patterned paper. Arrange strips across card front, ending each with a different pattern circle, and put sentiment strip across the join.


Circle pieces cut and rearranged: Punch two circles in each of five colors using a 1” punch. Cut each circle in half. Cut one half of each color in half again. Arrange on scrap paper and trim into a panel to adhere to card front, unless you glue a lot straighter than I do. (Inspired by Taylored Expressions die)

Circles with an embossing folder: Punch nine circles from scrap paper using a variety of punches. Arrange on panel and emboss panel using an embossing folder. (Inspired by Paula Reid)

Oscar: Cut light olive cardstock 5 1/2” x 9 1/4” for card base, score at 2” from left side and 3” from right side for gatefold card. Emboss for texture if desired. Punch circles in black, white, and red for eye, and mouth detail. I made eyes from 2 1/2” white with 1 1/4” black center and 1 3/4” white with 1” black center, and the mouth is 2 1/2” black with 1 1/2” red tongue. Tear brown paper for eyebrows. (Inspired by Paper Ecstasy)


Fish: Punch circle and small ovals for fish body and fins and scallop circle in a contrasting color for scales. Punch a small heart for lip detail. Punch a variety of small circles for bubbles. (Inspired by Krystal’s Cards and More)


Record album: Punch large circle in black and small circle in a contrasting color. (Inspired by Kathy Allinder Atherton)

Die cut sentiments are from Pinkfresh Studio “Scripted Greetings” and embossing folder is Sizzix Tim Holtz Damask

Creating Keepsakes CKC Houston 2025

CKC Houston (actually Conroe) June 13-14 2025

All the stamp and scrapbook shows I’ve attended over the years, starting in the ‘90s, are very similar.  There is a “show floor” in a convention center or hotel ballroom that has vendor booths.  The vendors have craft supplies for sale and may offer a small project “make and take”.  Classes are offered in smaller meeting rooms for a fee.  There is usually a crop, a space set aside for crafters to work in a group setting on projects they bring with them, and there is a per-crafter fee to participate.  

These events are getting fewer in number and smaller in size.  I’ve gone to this particular event in the past, the last time was around 2018, and this year’s event seemed to be 1/2 to 2/3 the size.  I’m sure this is a reflection of online offerings stepping in to the role of instruction and discovery.  The events offer community, though, in a way online offerings have trouble reproducing.  

If you are looking for an event near you, the event list for this organizer is at https://www.ckscrapbookevents.com/tabid/901/Default.aspx  The next event is in Madison, WI, July 11-12, with future events in Lancaster, PA, Lebanon, TN, Manchester, NH, Hillsboro, OR.  Shows were held earlier this year in St Louis, MO, Charlotte, NC, and Denton, TX.

Other organizers with multiple shows:

Scrapbook Expo  https://scrapbookexpo.com/2025-expo-show-list/

Rubberstamp Events https://rubberstampevents.com

Stamp Scrap Art Tour https://stampscraparttour.com/shows/

There are also one-off events like Croptemberfest, Scrapbook Mega Meet, Stampaway, Stamp Fest, Stamp Safari, StamperCon, Columbus Scrap & Stamp Show, Adventures in Stamping, and many others.  

This event organizer charges the instructor $12.50 per student per class.  The remainder of the class fee covers the materials and instructor’s time.  Each class is supposed to come with written instructions, color photo(s) of the finished project(s) and the class is to last long enough to finish the project(s) (all of that is in the contract, which you can download at the event website.)  I am a pretty fast crafter but could not finish three of the four class projects.

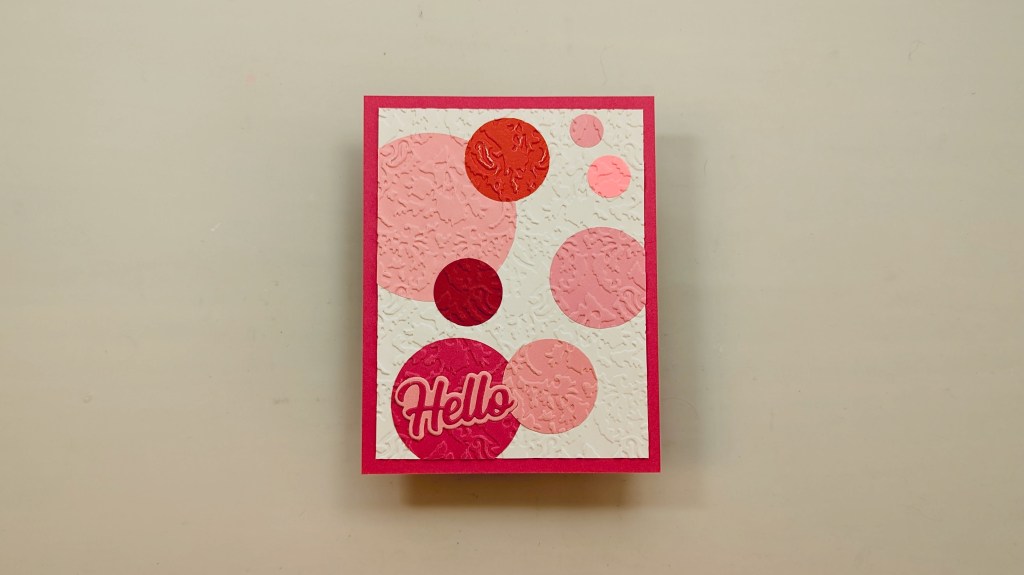
Classes sponsored by manufacturers in some way tend to work out better economically for the participant.  For example, this year I took two Stamplistic classes featuring Spellbinders.  The first featured balloon birthday cards.  The class fee was $36 and I received a $24 die set and $10 in paper.  The second was BetterPress and Glimmer cards.  The class fee was $47 and I received a $43 die set and about $3 of foil.  The event fee per student and instructor pay clearly came from Spellbinders in the form of product discounts and/or direct payments.

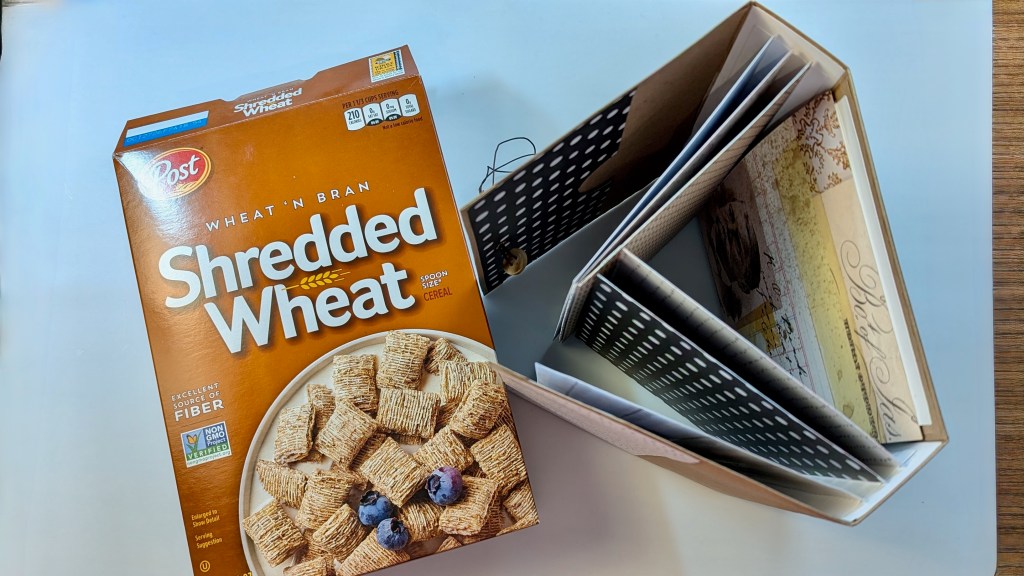
Classes not sponsored by a manufacturer in some way have to get the organizer fee and the instructor fee from the participant.  I took two Bella and Grace junk journaling classes.  The first was a sewn signature in a hardback book cover.  The second was an embellished sewn signature.  The class fee for each was $55.  For both classes I received a pack of supplies that sold for $25 in their show booth.  For the first class I also received a tool set worth about $7 (binder clips, giant paper clips, awl, needle, waxed thread) and for the second class an ephemera pack that sold for $7 in their show booth.  The remainder of the class fee went to the event ($12.50) and the instructor ($10 ish).  I guess the instructor, who was also the store owner, also got the profit on the class supplies, whatever that is, but the $10 per student seems low for creating, organizing, making up the kits, and presenting.  (All four classes were small, about 10 people in each.)

Neither is better or worse, and I’m not complaining about the prices.  I’m making the point so you can keep it in mind if you are selecting classes in the future.

For this event exhibitors pay $1000 per 10×10 booth per event, with discounts for additional booths and additional shows up to 20% reduction.  Crop sales tables are $100 per night.  The exhibitors now seem to be mostly those that specialize in shows or local to that particular show. 

Exhibitors all seem to charge for make and takes now, with the common fee about $5.  This show sets a maximum of $10 for any make and take fee.

The vendor and class list is a little different at every event.  I don’t see the Bella & Grace junk journal classes outside Texas, for example.  (They are based in the Dallas area.)

There were just over 25 vendors and just over 50 scheduled classes, plus crop events.  Classes by topic were 23 scrapbook, 16 card, 5 junk journal, 6 decor; some were offered in more than one time slot.

Shopping pass only is $6 per day.  Crop starts at $18 per session.  Classes seem to range from $28 to $79.  Class registration comes with no-additional-cost shopping passes for both days.

Vendors: Art Anthology, A to Z Scrapbooking, Craft Fancy, Chalk Couture, Creative Memories, Creative Scrapbooker Magazine, ScrapbookTShirts, Doodlebug Design, Echo Park, Fancy Pants Designs, Just Crop, Kreative Kreations, Mudd Puddles, Paper Wizard Inc, Petticoat Parlor, Quick Quotes Scrapbook Company, Scrapbook Fun Addict, Simply Stitched Scrapbooking, Stamplistic, Tall Mouse Creative A to Z, Tessler Crafts, The Paper Loft, The Ton, Treasure Box Scrapbooking Club, Two Owl Charms, US Art Quest

Classes offered by vendors listed above, plus Spellbinders and Bella & Grace Creative Arts.

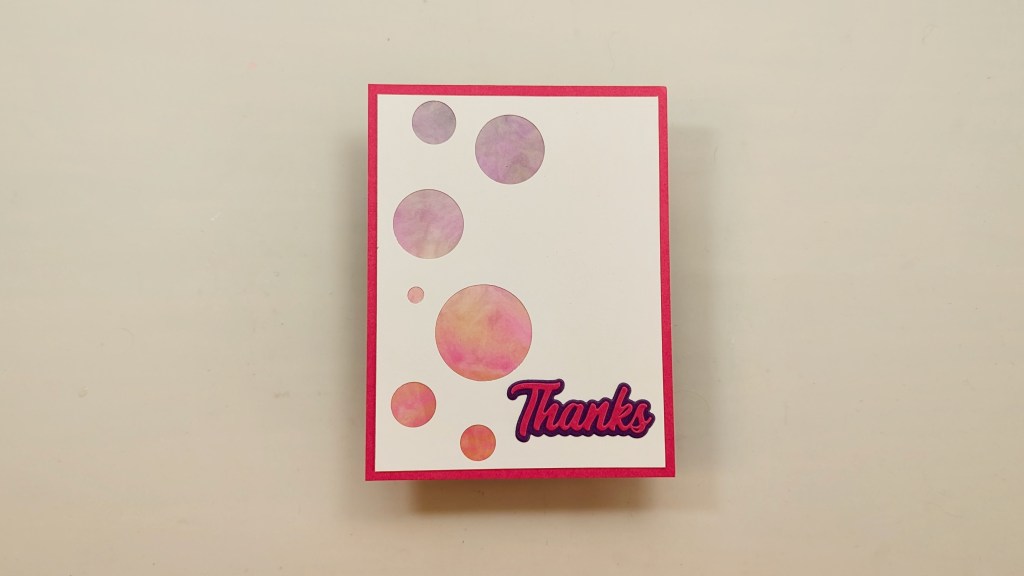
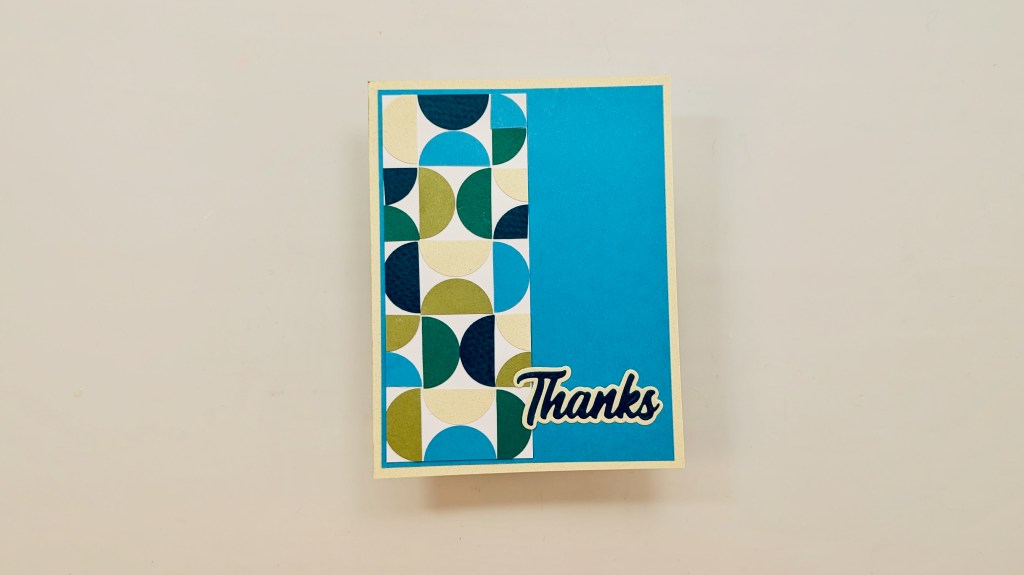
Cards: All Occasion Cards, Birthday Postage Collage, Sympathy Card Workshop, Gift Card Holder & Card Workshop, Anatomy of a Stamplistic Card, Vellum Roses, Easy Card Making Template Class Retro, The Great Stamp Mash-Up, Close Your Eyes and Make a Wish, More BetterPress with a Twist, Geared Up Christmas Cards, Cards that Pop, Christmas All Year, A2 18 Card Challenge, Just Crop Card Class Houston, Shimmer & Shine 2025 Techniques

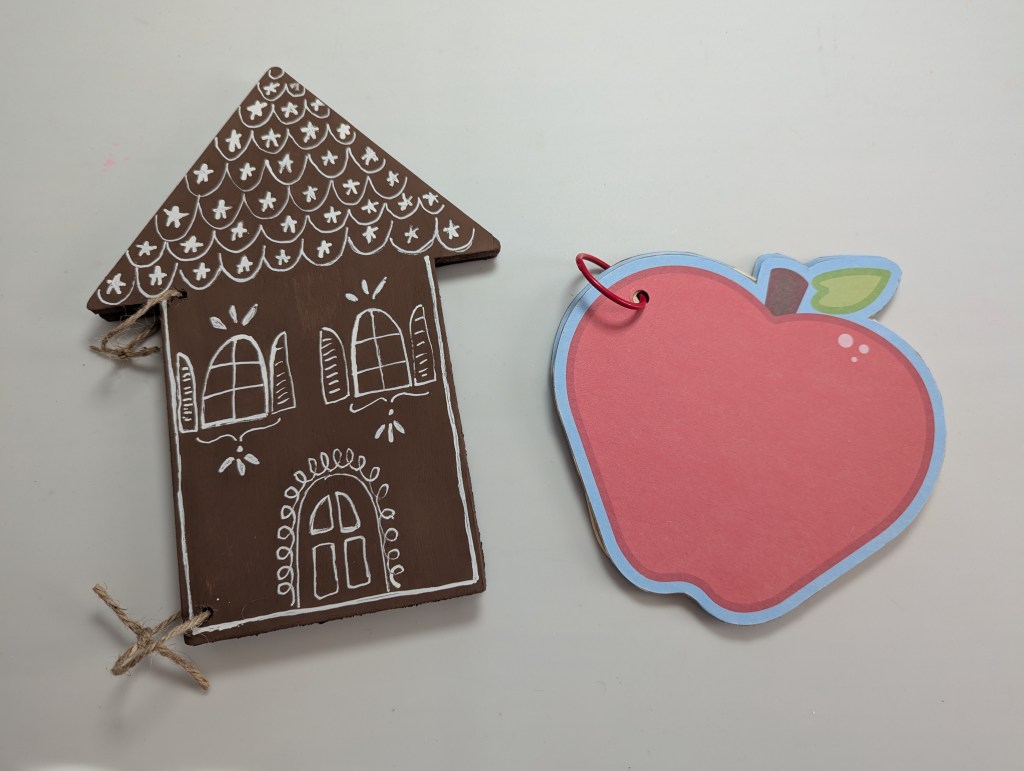
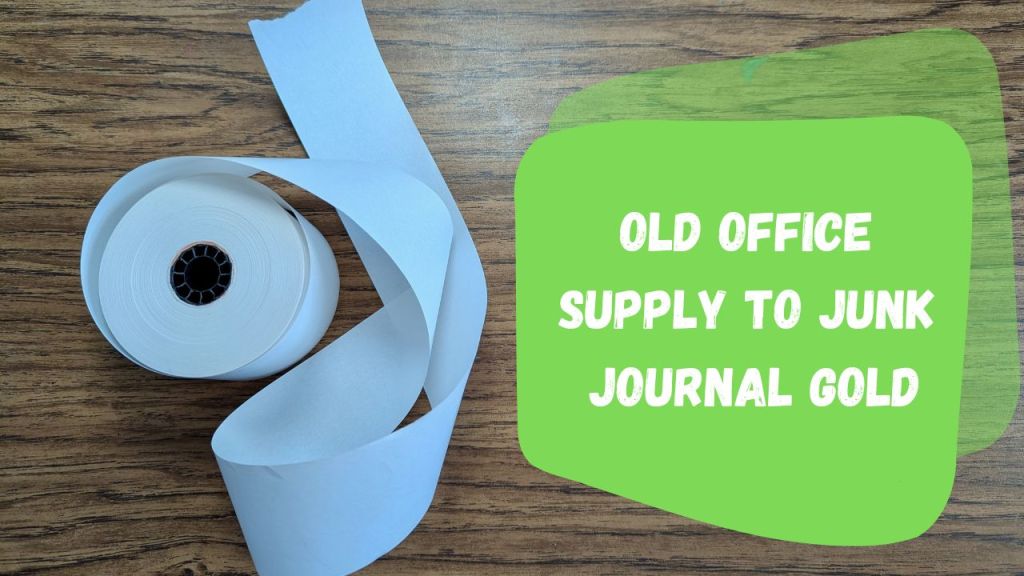
Journaling: Journaling Cards, Introduction to Junk Journaling, Creating Sensational Signatures in a Junk Journal, Junq’ue Journal, Shaker Frame Mini Album

Scrapbook layouts: 49th & Market Holiday Sparkle, 49th & Market Playtime, 49th & Market Best of Times, Farmhouse Chic Christmas, Carefree Beach, Follow Your Inner Compass, National Parks R’US, Life is Better with Pets, All New Totally Awesome Layouts 2025, Magical Memories Chipboard Book, Paradise, Made to Travel, Every Family Has A Story, Pool Party, Summertime with Painted Pages, Beautiful Moments Interactive Album, Vintage Disney PhotoFULL, You Only Live Once (Travel), Americana, Intro to Scrapbooking & Paper Piecing Basics, The Best Adventure, Life is More Fun When You’re Laughing Retro, Quick Quotes Beach

Other: Keeping it Glassy Beach Decor (wall hanging), From Boring to Beautiful Tea Towel, This is Gonna BEE My Year (calendar), Seaside Sparkle (decor), It’s Time to Sparkle (clock), Summer Frame with Interchangeable Tiles (decor)

Let’s talk about card kits

Is a card kit right for you? Let’s discuss the pros and cons.

Benefits
Less decision fatigue
Right amount of supplies for project
Community / craft-alongs

Drawbacks
You must take all components of kit
You may receive unwanted kits with any subscription
Subscription commitment (some kits)

Can go either way
Cost of kit may be higher or lower than component prices
Someone else has done the creative work
May get exclusive product or may get hard-to-sell product

Kits I’ve tried:
Simon Says Stamp
Club Scrap
Spellbinders
Hero Arts
Stampin’ Up Paper Pumpkin

I’ve mostly bought Club Scrap and Spellbinders kits on clearance, when they are a value proposition even if I don’t want all of the elements. Simon and Hero Arts may put elements on sale, but kits generally are not sold at a reduced price. I’ve been so disappointed with the quality of Paper Pumpkin compared to regular SU products that I wouldn’t buy one even at a clearance price.

Consider:
How much stamping / die cutting / paper cutting do you want to do?
How many un-used kits (from any company) do I already have?
Are the past kits appealing to me?
Do I generally like this company’s products?
Is this company aligned with my craft interests? (Stampers should be looking to stamp companies, for example.)
Are there instructions or inspiration?
Are any instructions clear and easy to follow?

Current Club Scrap offerings are at https://clubscrap.com/pages/categories under card kits. Regular price is $35.95, but check the clearance page for a selection of page and card kits priced at $16.95. Kits generally make 12 cards and no stamping is required. Their YouTube channel has helpful videos and kit-specific instructions are on their website under Resources. If you are shopping on eBay or other secondary market, have no fear – the instructions go back to 2007. The instructions are also a good resource for page and card sketches!

Scissors and Paper Trimmers

Do I need specialty scissors?  What are all the different kinds of paper trimmers?  Let’s discuss cutting tools!

I am including shopping links, but mostly so you can read additional details about each item if you would like to do that.  (Seriously, I’ve made about $10 lifetime on Amazon links, so I don’t care if you use my shopping links or not. The main benefit is the much-shorter link addresses without an extra step.)

Scissors and other hand-held cutters

Scissors are scissors, right?  Mostly, but you may want one or more types of specialty scissors. 

Non-stick – great for anything sticky, like foam tape.  Check the children’s art section for a bargain.

$10.77 Fiskars 3-pack for kids https://amzn.to/3DV4LaY

Micro-serrated – great for anything that might slip from the scissors’ grip like ribbon, lace, or tiny pieces of paper.  If you sew, this is the main feature of Karen Kay Buckley’s Perfect Scissors.  If you are long-time paper crafter, this is the main feature of several Tim Holtz for Tonic scissors.  Check out the pet grooming section for a bargain.

$8.99 https://amzn.to/40wLoOh

Wire snips – this is to cut apart dies, if you are a die cutter.  You will ruin your scissors if you use them to separate dies.  You may have one lying around the garage, and if so that’s perfect.

$6.99  https://amzn.to/4h2HvWQ

Very sharp detail scissors – these are perfect for fussy-cutting small images, and should have a sharp point.

$7.36 Westcott https://amzn.to/3BUi1Mp

Box opener / cardboard cutter – this is life-changing if you get a lot of boxes, and it is perfect for cutting corrugated cardboard without crushing it and without wearing out your hands using scissors.

$7.90  https://amzn.to/4fTyEFN

Decorative edge – these are mostly terrible, and I’ll say the ones I’ve ever actually used over the years are the pinking edge (for tiny bags), the scallop edge (for paper doll braids), and the deckle edge.

$7.84 6-pack https://amzn.to/3E38p2f

Recoil scissors – great if you struggle with hand strength, since the recoil gives you extra leverage.

$8.34 Tonic https://amzn.to/429jAjY

Craft knife – if you go this route, you 100% need a cork-backed steel ruler, a self-healing mat, and steady hands.  This is not ideal for the casual crafter.  I used these for years when I worked in newspaper production and they do have their place, but primarily for long straight cuts.

Rotary perforator

$5.17 Tonic https://amzn.to/4g3L1iM

Paper trimmers

I consider this an essential craft room tool.  Some crafters will argue that one type or another gives a straighter cut, but in my experience it’s all down to the user.  I promise I can produce an inaccurate, wavy cut on any trimmer.

Guillotine trimmer – sharp blade that you bring down like a guillotine, hence the name.  Blade is self-sharpening.  I’m linking the one I bought five years ago – never replaced the blade, it’s working like a champ.  It will handle about three sheets of medium-weight cardstock.  These do come in heavy-duty varieties that will handle more sheets of paper, but those also heavy in weight and harder to move.  

$30.99 Fiskars https://amzn.to/4je7Hj2

Rotary trimmer – these use a self-sharpening blade and can handle two or three sheets of cardstock.  I find this a little less flexible than the guillotine trimmer, but the Dahle I have is solidly built.  

$49.99 Dahle https://amzn.to/4fWRSKK

Cartridge trimmer – these are the mostly flat trimmers suitable for one sheet of paper.  The blade needs to be replaced periodically.  There are an endless number of these, but get the trimmer for which you can EASILY find replacement blades!  The advantage is that you can easily swap out the cutting blade for a scoring tool, and it is easier for tiny measurements than either a rotary or guillotine trimmer.

$25.99 Fiskars https://amzn.to/3C6c3YD

Prices are current as of the day I typed this out (obvs.) and do not include coupons, taxes, or shipping.  Amazon links (if any) are affiliate, others are not.  As an Amazon Associate, I earn from qualifying purchases.   Or I would, theoretically, if anyone ever followed a link and bought something, which I do not encourage.  Use your craft supplies!

Short video discussion: https://youtu.be/qPvFR4E6M7I

Faux Marble Embellishment

Materials: silicone mold, tissue paper, glue, embossing powder

The mold I used today is from Dollar Tree and meant for making a coaster.

I lightly misted the mold with water, then lined it with tissue large enough to cover the mold and overhang the edges by several inches.  I brushed on some regular white glue, then layered more tissue.  I used tissue cut into sixths, nine layers, which is about 1 1/2 sheets of tissue paper altogether.  Once all the tissue was layered and pressed into the mold, I folded the overhang into the mold, continuing to brush on glue and misting with water.

I’m impatient, so instead of allowing to dry overnight I stuck the mold on the baking tray in my toaster oven at 200 degrees Fahrenheit (about 95 degrees Celsius) for an hour.  The silicone mold will not melt at any temperature safe for paper, which as we all know from enforced English class reading is Fahrenheit 451 (232 Celsius) (the book was by Ray Bradbury.)

After unfolding the embellishment, I used embossing ink and glue stick to adhere embossing powder to the edges and surfaces of the embellishment and then heated with my heat tool to melt the powder.

Short process video: https://youtu.be/BlWfYn2vHHY

Toilet paper roll envelope

I used toilet paper rolls, paper towel rolls, and wrapping paper rolls to make the pockets.  The paper towel and wrapping paper rolls can be cut long enough to hold an ATC or gift card. 

Flatten the tube and mark 1″ from one end and 1/2″ from the other end. For longer paper towel and wrapping paper tubes, I used a length of 5 1/2″ overall. Cut a slit up to the mark on each side of the flattened tube. Fold up to the mark, then remove the flap at each end on one side. Fold up the 1/2″ flap and glue. Decorate as desired. I used acrylic paint for color, then painted with Crafter’s Square metallic acrylic paint from Dollar Tree.

Short process video: https://youtu.be/O380pugAn_8


Shaped mini-albums

Two ways to use Dollar Tree items to make easy shaped mini-albums

First we’ll use “shaped decor sheets” from the Teaching Tree line. I’m sure these are meant for a classroom bulletin board.

I applied a thin coat of Mod Podge in satin to a scrap piece of lightweight cardboard (I think it was from a pad of paper), attached an apple cutout, then coated with more Mod Podge. Once dry, I cut it out. I made two of these. To decorate the back, I painted the edge of the cardboard with acrylic paint that roughly matched the apple border, then applied a trimmed apple using Mod Podge, then coated with more Mod Podge.

Second we’ll use “wood hanging decor” from the Crafter’s Square line.

These don’t need to be backed, and by using two of the same the front and back match. I painted the house using Prang tempura paint in brown, then drew “icing” using a white acrylic paint pen.

For both, I traced the cover onto scrap cardboard to make a jig. I trimmed this a little smaller than the outline until I had page shapes that fit inside my covers. I used the jig to cut copy paper into page shapes. I marked the hole placement on the jig and used that to punch holes in the pages. For the apple decor sheets I used a 1/4 punch and for the house I used a 1/8” punch to match the hole in the wooden shape.

The “shaped decor sheets” can themselves be used as pages.

The Prang tempera paint and Mod Podge are a good price at Dollar Tree. The Prang is quite inexpensive compared to other retailers. The Mod Podge can be less expensive if you are willing to buy a much larger container, but I’m here to tell you that 16 oz of Mod Podge is a supply that will last a very long time.

Short video: https://youtu.be/uvsJFlMdcpo

Calculator tape crafts

Calculator tape is meant to be used in a desktop calculator to print calculations, but I can’t remember the last time I turned on the tape in my own 10-key. I thought it would make a fun craft supply, so I used it to stamp and watercolor, make a paper ruffle, and make a snippet roll. All of these were much, much more fun than adding a column of numbers!

Short video: https://youtu.be/cKf7QIuCP3o

Cantilevered Storage Box

Easy-to-make cantilevered storage box, similar to a thread chest

Materials: 6 boxes, 12 strips, 36 brads

You will need six identical small boxes.  These must be the type with a removable top or sleeve, like a jewelry box or matchbox.  I’m making mine using the Sizzix Tim Holtz Curio Box die, but you can easily make these with no die.

To make a similar box with no die, cut lightweight cardboard into a rectangle 5” x 6”.  Score around all four sides at 1”.  Cut a slit at each corner at the score line on each long side.  If you are making your own boxes, it’s easier to decorate and punch the holes before assembly.

Pierce each box in three places in a row on each long side.  Use a 1/8” hole punch for mini craft brads. Carefully measure and mark so the holes are in the same spot on each box. The holes must the large enough to allow the brad to turn.

Next you will need 12 strips of cardstock or lightweight cardboard to make the mechanism.  8 will be shorter, joining two boxes.  Four will be longer, joining three boxes.  Stack three boxes and measure from the top left hole to the bottom right hole for the long strip, allowing a little extra on each end.  Measure from the middle end hole to the middle bottom hole for the short strip, cutting eight.  

Use the brads to join the strips to the boxes.  The brad legs can’t be closed down too tightly, preventing movement.  I know we normally use brads to join paper together so the impulse is to tighten those right down, but fight the urge!

Cut a base to set the stacked boxes onto.  Measure the bottom of two boxes side-by-side to determine the size.

Add feet if desired.  These can be cardboard or a large bead.

For my Curio Box Bigz die-cut boxes

The punched holes are at 1/2”, 2”, and 3 1/2”  

The strips are 3/8” wide and 4 1/8” long (longer) and 2 1/4” long (shorter)

The legs are a 1” square of lightweight cardboard scored each way at 1/2”

The base is 3” x 8 1/4”

Short process video: https://youtu.be/1TN-b18d_bE

Dollar Tree treat bag to mini album

Dollar Tree treat bag to mini album

I’m using a package of 10 treat bags from Dollar Tree, approximately 4.5” x 9” from their spring 2024 line. These are similar in size to standard paper lunch bags, also described as a 4 lb bags. The advantage of the Dollar Tree treat bags is that you can buy a small number and they are decorative.

I added a little solid cardstock and copy paper in co-ordinating colors, one plain lunch bag (for the cover, you could also use a brown paper grocery bag), and some lightweight cardboard from food packages.

To build the book, cut the cardboard to 4 5/8″ x 5″ and cover using co-ordinating copy paper. Open the glued end of each treat bag and cut off at the last fold. Fold five treat bags in half and staple at the fold point. Cut the plain lunch bag or brown paper grocery bag to the same size as the trimmed-down treat bags. Glue the plain bag to the front cover. Temporarily hold the stack of treat bags against the front cover, fold the plain lunch bag over the stack, then glue the back cover to the plain lunch bag. This gives you an appropriate fold for the spine. Open the cover and run a line of glue down the center of the plain paper and place the stapled stack of treat bag pages down on the line of glue. Short process video: https://youtu.be/3f1pJy0Wh6E

Since I have dies, I decorated the pages with die cuts using the sets listed below. If you don’t have dies, any ephemera or stickers would be equally appropriate, or the treat bags are decorative themselves.


Sizzix Tim Holtz Curio Box with Framelits #664419 https://amzn.to/4ehOxpL
Stampin Up Framelits Labels #125598
Spellbinders Celebra’tions by Richard Garay Pierced Word Bubbles SCD-023
Crafters Companion dies – advent calendar 2019, spring calendar 2020

The closure is 12” of elastic cord threaded through two eyelets. If you prefer a ribbon closure, attach the ribbon between the cover and brown paper as you assemble the book.

Prices are current as of the day I typed this out (obvs.) and do not include coupons, taxes, or shipping. Amazon links (if any) are affiliate, others are not. As an Amazon Associate, I earn from qualifying purchases. Or I would, theoretically, if anyone ever followed a link and bought something, which I do not encourage. Use your craft supplies!